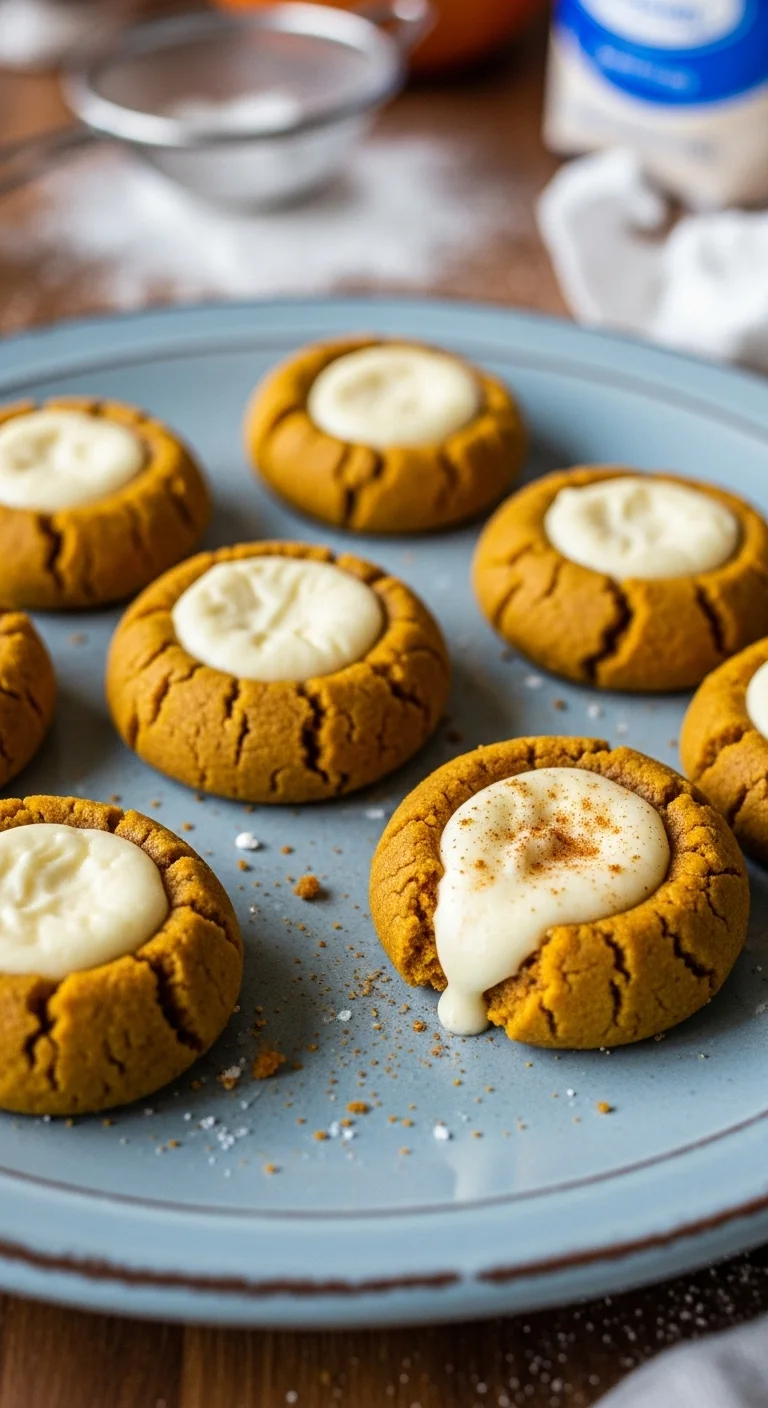
There’s something undeniably magical about a perfectly baked cookie, especially when it combines the warm, comforting spices of fall with the rich, creamy indulgence of cheesecake. These Pumpkin Cheesecake Thumbprint Cookies are exactly that: little bites of pure happiness. I remember the first time I made these. It was a chilly October evening, and the aroma of pumpkin pie spice filled my kitchen, creating a sense of cozy warmth.
Why This Pumpkin Thumbprint Cookies Recipe Will Change Your Life
These aren’t your average pumpkin cookies. The marriage of the slightly spiced, tender cookie base with the tangy, sweet cheesecake filling is a revelation. Think of it as a mini pumpkin cheesecake you can hold in your hand! What sets this pumpkin thumbprint cookies recipe apart is its simplicity. You don’t need to be a professional baker to achieve bakery-worthy results. The ingredients are readily available, the steps are straightforward, and the end result is utterly irresistible. This recipe consistently delivers a moist, flavorful cookie with a perfect balance of textures and flavors. Forget store-bought cookies that are often dry and bland; this pumpkin thumbprint cookies recipe will empower you to create something truly special in your own kitchen. Imagine the smiles on the faces of your family and friends when they taste these little gems! Moreover, these pumpkin thumbprint cookies are incredibly versatile. They are perfect for holiday gatherings, bake sales, or simply as a delightful treat to brighten up a weekday. The recipe is easily scalable, so you can make a small batch for yourself or a large batch to share. Plus, they store beautifully, making them ideal for making ahead of time. Trust me, once you try this pumpkin thumbprint cookies recipe, it will become a cherished part of your baking repertoire, and you’ll wonder how you ever lived without it.The Secret Techniques That Make This Pumpkin Thumbprint Cookies Perfect
The key to a truly outstanding pumpkin thumbprint cookies lies in a few carefully considered techniques. First, don’t overmix the dough! Overmixing develops the gluten in the flour, resulting in a tough cookie. Mix the dry ingredients into the wet ingredients just until combined. This ensures a tender, melt-in-your-mouth texture. Speaking of ingredients, using softened vegetable shortening is crucial for creating a light and airy cookie base. If the shortening is too cold, it won’t cream properly with the sugar, resulting in a dense cookie. Leave the shortening at room temperature for at least 30 minutes before you start baking. Another important technique is to chill the dough briefly before baking. This helps prevent the cookies from spreading too much in the oven. Wrap the dough in plastic wrap and chill it for about 30 minutes. This will also make the dough easier to handle when forming the thumbprints. When making the indentations, use a greased teaspoon or your thumb (hence the name!). Be gentle and avoid pressing too hard, which can crack the cookies. Finally, don’t overbake the cookies! They should be golden brown around the edges but still slightly soft in the center. They will continue to firm up as they cool. Remove them from the oven as soon as they’re done to prevent them from becoming dry and brittle. These little techniques elevate these pumpkin thumbprint cookies from good to extraordinary.Pumpkin Cheesecake Thumbprint Cookies
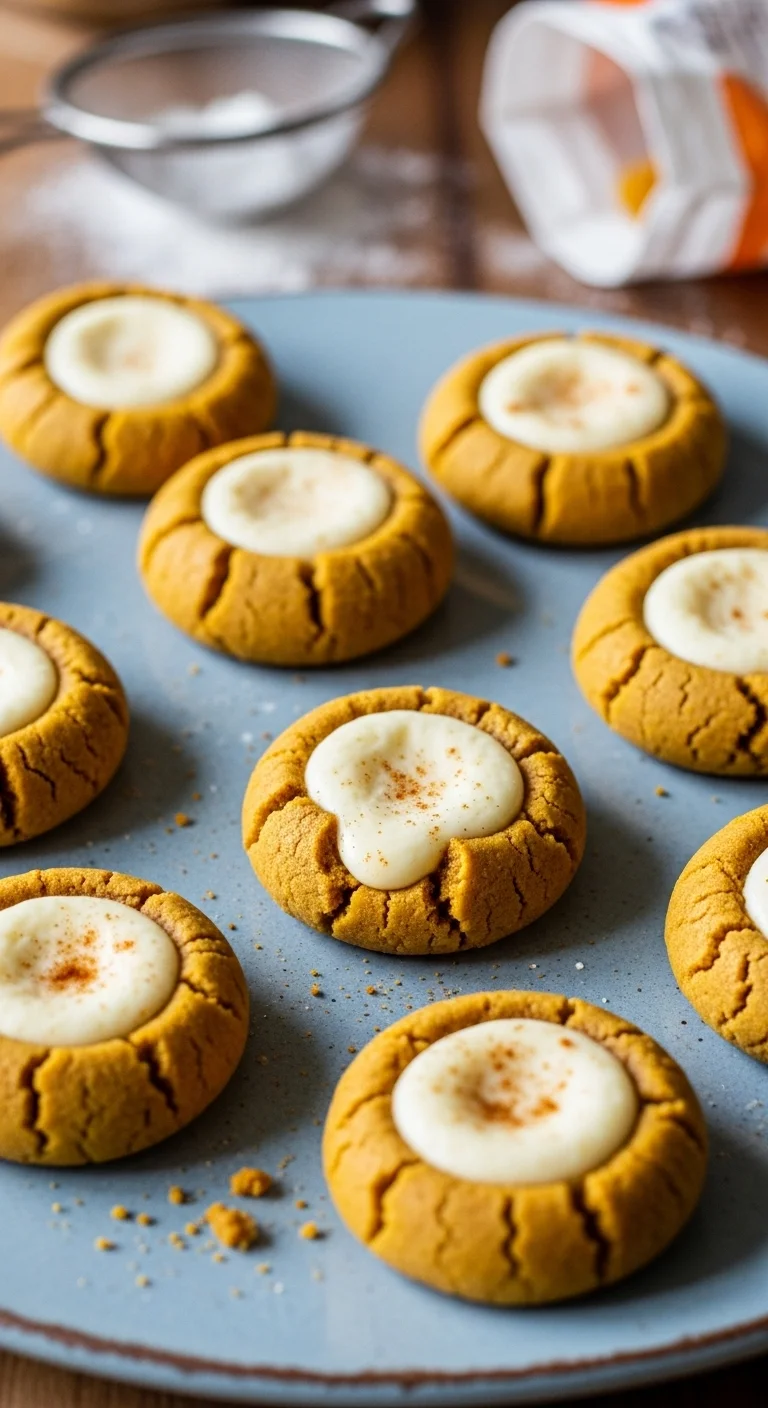
Adorable pumpkin cookies with creamy cheesecake filling! These thumbprint cookies are easy to make and perfect for fall baking. Get the recipe and bake up some deliciousness! #cookies
SERVINGS
24 servings
PREP TIME
30 minutes
COOK TIME
15 minutes
TOTAL TIME
45 minutes
CUISINE
American
DIFFICULTY
Easy
🍎 Nutrition Information
150 cal
Calories
8g
Fat
2g
Protein
18g
Carbs
0.5g
Fiber
10g
Sugar
75mg
Sodium
50mg
Cholesterol
🥘 Ingredients
👨🍳 Instructions
-
Preheat oven to 350°F (175°C).
-
Whisk together flour, pumpkin pie spice, baking soda, salt,
-
Cream vegetable shortening and sugars until light and fluffy
-
Beat in egg and vanilla extract, then pumpkin puree.
-
Gradually add dry ingredients to wet ingredients, mix until
-
Chill dough for 30 minutes.
-
Roll dough into tablespoon-sized balls.
-
Bake for 8 minutes, then make indentations.
-
Continue baking for another 7 minutes, .
-
Cool completely on wire rack.
-
Beat cream cheese, vegetable shortening, powdered sugar, and
-
Pipe filling into indentations and sprinkle with pumpkin pie
📝 Notes & Tips
Chill dough to prevent spreading. Cool cookies completely before filling. Store in airtight container.
Essential Ingredients: What Makes Each One Special
Let’s break down the essential ingredients and why they play such a vital role in these delectable pumpkin thumbprint cookies.- All-Purpose Flour: Forms the structural base of the cookie. Use a good quality all-purpose flour for the best results.
- Pumpkin Pie Spice: This blend of cinnamon, ginger, nutmeg, and cloves is what gives these cookies their signature warm, autumnal flavor. Don’t be shy with it!
- Baking Soda & Baking Powder: These leavening agents work together to give the cookies a light and airy texture.
- Kosher Salt: Enhances the sweetness and balances the flavors. A pinch of salt is essential in any baking recipe.
- Vegetable Shortening: Using vegetable shortening ensures a tender and moist cookie. It also contributes to the cookies’ slightly crumbly texture.
- Brown Sugar & Granulated Sugar: Brown sugar adds moisture and a hint of molasses flavor, while granulated sugar provides sweetness and structure.
- Large Egg: Binds the ingredients together and adds richness.
- Pure Vanilla Extract: Enhances the overall flavor and adds a touch of warmth.
- Pumpkin Puree: The star of the show! Use 100% pure pumpkin puree, not pumpkin pie filling.
- Cream Cheese: This is the foundation of the creamy cheesecake filling. Make sure it’s at room temperature to prevent lumps.
- Powdered Sugar: Provides sweetness and structure to the filling.
Step-by-Step Mastery: Pro Techniques for Success
Let’s dive into the step-by-step process of creating these pumpkin thumbprint cookies, highlighting the pro techniques that will guarantee success. Step 1: Preheat and Prep. Preheat your oven to 350°F (175°C). Lining your baking sheets with parchment paper is essential to prevent sticking. Spraying the parchment with cooking spray adds an extra layer of protection. Step 2: Whisk Dry Ingredients. In a medium bowl, whisk together the flour, pumpkin pie spice, baking soda, salt, and baking powder. This ensures that the spices and leavening agents are evenly distributed throughout the dough. Step 3: Cream Wet Ingredients. In a large bowl, cream the vegetable shortening and sugars together until light and fluffy. This process incorporates air into the dough, resulting in a lighter texture. Beat in the egg and vanilla extract until well combined. Then, beat in the pumpkin puree. Step 4: Combine Wet and Dry. Gradually add the dry ingredients to the wet ingredients, mixing on low speed just until combined. Be careful not to overmix! Step 5: Chill the Dough. Wrap the dough in plastic wrap and chill it in the refrigerator for 30 minutes. This helps prevent the cookies from spreading too much in the oven. Step 6: Shape the Cookies. Roll the dough into tablespoon-sized balls and place them 2 inches apart on the prepared baking sheets. Step 7: Make the Indentations. Bake the cookies for 8 minutes, then remove them from the oven. Use a greased teaspoon to make indentations in the center of each cookie. This will create the space for the cheesecake filling. Continue baking for another 7 minutes, or until the edges are golden brown. Step 8: Cool Completely. Let the cookies cool on the baking sheets for a few minutes before transferring them to a wire rack to cool completely. This prevents them from breaking. Step 9: Make the Filling. While the cookies are cooling, prepare the cheesecake filling. In a medium bowl, beat the softened vegetable shortening with the cream cheese, powdered sugar, and vanilla extract until smooth and creamy. Step 10: Fill and Decorate. Transfer the filling to a pastry bag fitted with a round tip. Pipe the filling into the indentations of the cooled cookies. Sprinkle with additional pumpkin pie spice, if desired.Creative Variations: Make It Your Own
One of the best things about this pumpkin thumbprint cookies recipe is its versatility. Feel free to experiment and put your own spin on it! Here are a few creative variations to inspire you:- Spice it Up: Add a pinch of cayenne pepper to the cookie dough for a subtle kick.
- Chocolate Chip: Fold in 1/2 cup of mini chocolate chips into the cookie dough for a chocolatey twist.
- Nutty Delight: Add 1/2 cup of chopped pecans or walnuts to the cookie dough for added texture and flavor.
- Maple Glaze: Drizzle a maple glaze over the filled cookies for extra sweetness and autumnal flavor.
- Cream Cheese Swirl: Swirl a tablespoon of pumpkin puree into the cheesecake filling for a marbled effect.
- Spiced Sugar Coating: Before baking, roll the cookie dough balls in a mixture of sugar and pumpkin pie spice for a crunchy and flavorful coating.
Perfect Pairings: What to Serve With Pumpkin Thumbprint Cookies
These pumpkin thumbprint cookies are delicious on their own, but they’re even better when paired with the right beverage or dessert. Here are a few perfect pairings to elevate your cookie experience:- Hot Chocolate: A classic combination! The rich, creamy hot chocolate complements the warm spices of the cookies perfectly.
- Apple Cider: The crisp, sweet apple cider is a refreshing contrast to the rich, creamy cookies.
- Coffee or Tea: The perfect afternoon pick-me-up! A cup of coffee or tea complements the cookies’ subtle sweetness.
- Vanilla Ice Cream: Serve the cookies warm with a scoop of vanilla ice cream for a decadent dessert.
- Pumpkin Spice Latte: Embrace the pumpkin spice season with this ultimate pairing.
Storage Secrets: Keep It Fresh and Delicious
To keep your pumpkin thumbprint cookies fresh and delicious, proper storage is essential. Here are a few tips:- Airtight Container: Store the cookies in an airtight container at room temperature. This will prevent them from drying out.
- Layering: If stacking the cookies, place a sheet of parchment paper between the layers to prevent them from sticking together.
- Freezing: For longer storage, you can freeze the cookies. Place them in a single layer on a baking sheet and freeze for 1-2 hours, or until solid. Then, transfer them to a freezer-safe bag or container. They can be stored in the freezer for up to 2-3 months.
- Thawing: When ready to serve, thaw the frozen cookies at room temperature for a few hours.
Health Benefits: Why This Pumpkin Thumbprint Cookies is Good for You
While these pumpkin thumbprint cookies are a treat, they do offer some unexpected health benefits.- Pumpkin: Pumpkin is a good source of vitamins A and C, as well as fiber. These nutrients are important for immune function and overall health.
- Spices: The pumpkin pie spice blend contains cinnamon, ginger, nutmeg, and cloves, all of which have antioxidant and anti-inflammatory properties.
- Moderation: Enjoying these cookies in moderation can satisfy your sweet tooth without derailing your healthy eating habits.
Troubleshooting: Fix Common Mistakes
- Cookies Spreading Too Much: This is often caused by using vegetable shortening that is too warm. Make sure the shortening is softened but still slightly cool. Chilling the dough before baking can also help.
- Cookies Are Dry: This can be caused by overbaking or using too much flour. Make sure to measure the flour accurately and don’t overbake the cookies.
- Filling Is Lumpy: This is usually caused by using cream cheese that is too cold. Make sure the cream cheese is at room temperature before making the filling.
- Cookies Are Sticking to the Baking Sheet: Make sure to line your baking sheets with parchment paper and grease the parchment with cooking spray.
- Cookies Are Too Brown on the Bottom: Try placing a second baking sheet underneath the first one to insulate the cookies from the heat.
Expert Answers: Your Burning Questions
Here are some frequently asked questions about pumpkin thumbprint cookies:- Can I use butter instead of vegetable shortening? While you can, the texture will be different. Shortening creates a more tender cookie.
- Can I make the dough ahead of time? Yes, you can make the dough up to 24 hours in advance. Store it in the refrigerator until ready to use.
- Can I use canned pumpkin pie filling instead of pumpkin puree? No, canned pumpkin pie filling contains added sugar and spices, which will affect the flavor and texture of the cookies. Use 100% pure pumpkin puree.
- How do I prevent the filling from sinking into the cookies? Make sure the cookies are completely cooled before filling them. Also, don’t overfill the indentations.
- Can I add other spices to the cookie dough? Absolutely! Feel free to experiment with different spices, such as cardamom, ginger, or cloves.
More Amazing Recipes You’ll Love
If you enjoyed this pumpkin thumbprint cookies recipe, be sure to check out these other delicious recipes from RecipesWithClara:- Classic Chocolate Chip Cookies: A timeless favorite that everyone loves.
- Tangy Lemon Bars: A bright and refreshing treat perfect for spring and summer.
- Fudgy Brownies: Rich, decadent, and irresistible.
- Soft Peanut Butter Cookies: A simple but satisfying cookie.
- Chewy Oatmeal Raisin Cookies: A hearty and wholesome cookie that’s perfect for breakfast or dessert.
- Festive Gingerbread Cookies: A Christmas classic that’s fun to decorate.
- Buttery Shortbread Cookies: Simple, elegant, and perfect for any occasion.