Garlic aioli. The name itself conjures images of creamy, garlicky goodness, doesn’t it? I remember the first time I tasted a truly exceptional aioli. I was traveling in the South of France, and a tiny bistro nestled in a cobblestone street served a plate of crispy frites with a side of the most decadent, flavor-packed aioli I had ever encountered. It was an awakening! That experience inspired me to recreate the perfect garlic aioli recipe at home.
I’ve spent years perfecting it, and this recipe is the culmination of all that effort. It’s incredibly versatile, easy to make, and will transform your everyday meals into something truly special. Get ready to elevate your culinary creations!
Why This Garlic Aioli Recipe Will Change Your Life
This isn’t just another garlic aioli recipe; it’s a flavor experience. Forget bland, store-bought condiments. This homemade version bursts with fresh garlic flavor, a bright tang from lemon, and a creamy richness that you simply can’t get from a jar. This garlic aioli recipe is the gateway to countless culinary adventures.
It’s the perfect dip for vegetables, a luxurious spread for sandwiches, and a delectable accompaniment to grilled meats and seafood. But beyond its versatility, this recipe offers something more profound: a sense of accomplishment and the joy of creating something truly delicious from scratch. Imagine the look on your friends’ faces when you serve them this incredible garlic aioli. They’ll be begging for the recipe! And the best part? It takes only minutes to make.
What makes this recipe life-changing? First, it’s the simplicity. With just a few ingredients and minimal effort, you can create a condiment that tastes like it came from a Michelin-starred restaurant. Second, it’s the versatility. You can adapt this garlic aioli recipe to suit your own tastes, adding different herbs, spices, or even roasted vegetables.
Third, it’s the confidence it inspires. Once you’ve mastered this recipe, you’ll feel empowered to experiment with other sauces and condiments, expanding your culinary repertoire and impressing everyone with your newfound skills. And lastly, it’s the sheer deliciousness. Seriously, this garlic aioli recipe is addictive.
The Secret Techniques That Make This Garlic Aioli Recipe Perfect
Creating a truly exceptional garlic aioli recipe involves more than just throwing ingredients into a bowl. It’s about understanding the nuances of each ingredient and using specific techniques to maximize the flavor. Here are a few secrets that will elevate your aioli from good to extraordinary:
- Garlic Preparation: Mincing the garlic finely is key. However, even better than mincing is creating a garlic paste. By adding a pinch of salt to the minced garlic and using the flat side of your knife to smear it across your cutting board, you release even more of the garlic’s pungent oils, resulting in a more intense and flavorful aioli.
I learned this technique from an Italian chef years ago, and it makes a world of difference. Salt acts as an abrasive, breaking down the garlic cells and unleashing their full potential.
- Lemon Juice: Freshly squeezed lemon juice is non-negotiable. Bottled lemon juice simply doesn’t have the same bright, zesty flavor. The lemon juice not only adds a touch of acidity but also helps to emulsify the aioli, creating a smoother and creamier texture. Make sure to taste as you go. Some lemons are more tart than others!
I prefer using Meyer lemons when they’re in season, as they have a slightly sweeter and less acidic flavor. But any good quality lemon will do the trick. You can also experiment with lime juice for a different flavor profile.
- Olive Oil: While you only need a tablespoon, using a high-quality extra virgin olive oil will add a subtle fruity note to your aioli. The olive oil also contributes to the aioli’s creamy texture and richness.
I recommend using an olive oil with a mild flavor, as a very strong olive oil can overpower the other ingredients. Look for an olive oil that is cold-pressed and has a peppery finish. It’s a small touch that makes a big difference.
- Resting Time: This is perhaps the most important secret of all. Once you’ve made the aioli, it’s crucial to let it rest in the refrigerator for at least 30 minutes, or even better, for an hour or two. This allows the flavors to meld and deepen, resulting in a more complex and satisfying taste.
Think of it like marinating. The resting period allows the garlic and lemon juice to fully infuse the mayonnaise, creating a harmonious blend of flavors. Trust me, this step is worth the wait. That’s how you perfect your garlic aioli recipe.
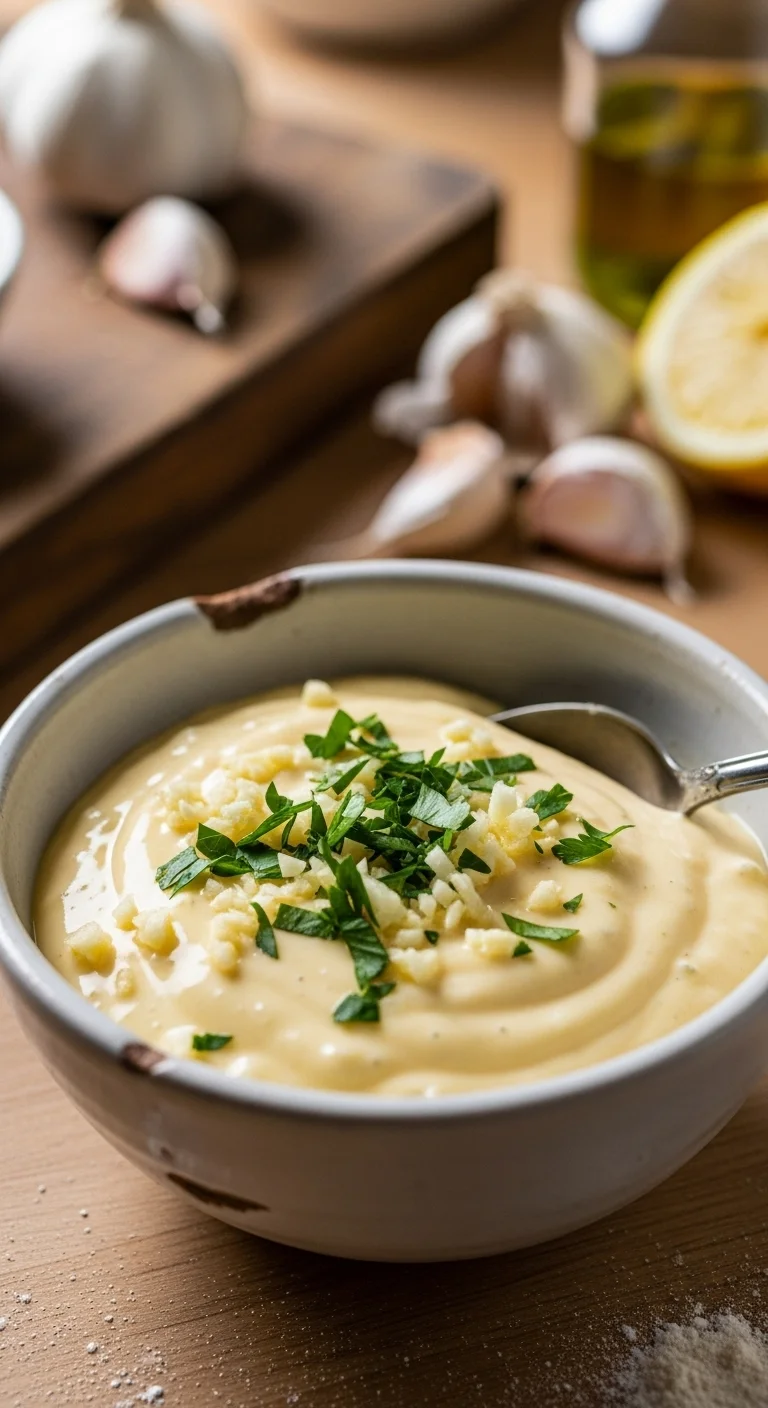
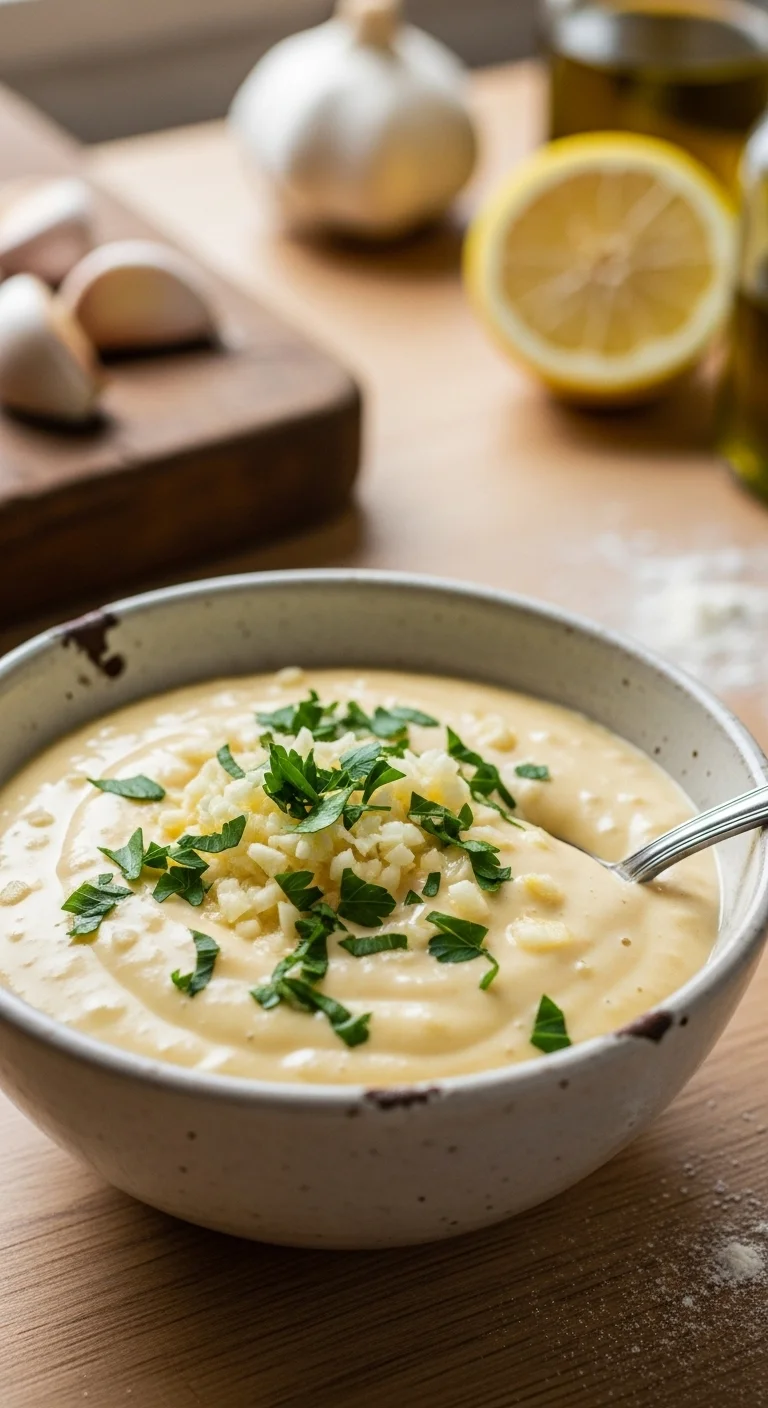
Creamy Garlic Aioli: Easy Homemade Recipe
Whip up this dreamy garlic aioli in minutes! Perfect for dipping, spreading, and elevating any dish. Get the easy homemade recipe now!
🍎 Nutrition Information
🥘 Ingredients
👨🍳 Instructions
-
Mince garlic into a paste.
-
Combine mayonnaise, garlic, lemon juice, olive oil in bowl.
-
Add salt and pepper; cayenne pepper if desired.
-
Whisk ingredients until and
-
Taste, adjust seasonings.
-
Add Dijon mustard/parsley, if desired.
-
Cover and refrigerate for at least 30 minutes to meld flavor
📝 Notes & Tips
Resting time is crucial for flavor development.
Essential Ingredients: What Makes Each One Special
Let’s break down the key ingredients in this garlic aioli recipe and explore why each one is essential to achieving the perfect flavor and texture:
- Mayonnaise: The foundation of any good aioli is, of course, mayonnaise. I highly recommend using homemade mayonnaise if you have the time, as it will have a richer and more complex flavor than store-bought. If you’re using store-bought, opt for a high-quality brand made with whole eggs and healthy oils. Avoid low-fat or reduced-calorie mayonnaises, as they tend to have a thinner consistency and lack the richness needed for a great aioli.
My personal favorite store-bought mayonnaise is made with avocado oil, as it has a creamy texture and a neutral flavor that doesn’t compete with the other ingredients. But ultimately, the choice is yours. Just make sure it’s a good quality mayonnaise that you enjoy.
- Garlic: The star of the show! The amount of garlic you use will depend on your personal preference. I recommend starting with 4 cloves for a subtle garlic flavor and increasing it to 6 cloves for a more intense garlic punch. Choose fresh, firm garlic cloves and avoid any that are soft or have sprouts. The freshness of the garlic will directly impact the flavor of the aioli.
If you’re feeling adventurous, you can even try roasting the garlic before adding it to the aioli. Roasted garlic has a sweeter and more mellow flavor that adds a unique dimension to the recipe. You can wrap a whole head of garlic in foil with a drizzle of olive oil and roast it in a 400°F (200°C) oven for about 45 minutes, or until the cloves are soft and fragrant. Then, simply squeeze the roasted garlic cloves out of their skins and add them to the mayonnaise.
- Lemon Juice: As mentioned earlier, freshly squeezed lemon juice is a must. It not only adds a bright, zesty flavor but also helps to emulsify the aioli, creating a smoother and creamier texture. Use a lemon squeezer to extract as much juice as possible and be sure to remove any seeds.
If you don’t have a lemon squeezer, you can simply roll the lemon on the counter a few times to release the juices before cutting it in half and squeezing it by hand. Just be careful to avoid getting any seeds in the aioli.
- Olive Oil: A small amount of high-quality extra virgin olive oil adds richness and depth of flavor to the aioli. Choose an olive oil with a mild flavor that won’t overpower the other ingredients.
Look for an olive oil that is cold-pressed and has a peppery finish. You can also experiment with different types of olive oil to find your favorite. For example, a Tuscan olive oil will have a more robust and fruity flavor, while a Ligurian olive oil will be more delicate and subtle.
- Salt and Pepper: Seasoning is crucial for any recipe, and aioli is no exception. Use sea salt or kosher salt for the best flavor and freshly ground black pepper for a touch of spice. Be sure to taste and adjust the seasoning as needed.
I like to use a pepper grinder that allows me to adjust the grind size, as a coarser grind will result in a more intense pepper flavor. You can also experiment with different types of pepper, such as white pepper or pink peppercorns, for a unique twist.
Step-by-Step Mastery: Pro Techniques for Success
Making the perfect garlic aioli recipe is surprisingly simple, but there are a few pro techniques that will ensure success every time. Follow these steps carefully, and you’ll be rewarded with a creamy, flavorful aioli that will impress your friends and family.
Step 1: Mince the Garlic:
Start by peeling the garlic cloves and mincing them finely with a sharp knife. Aim for a very fine mince, as large pieces of garlic can be overpowering in the aioli. Alternatively, you can use a garlic press to mince the garlic. This is what I typically do. Then take that garlic and mash it even finer with the side of the knife and salt.
Step 2: Combine the Ingredients:
In a medium-sized bowl, add the mayonnaise, minced garlic (or garlic paste), lemon juice, and olive oil. Make sure the bowl is clean and dry, as any moisture can prevent the aioli from emulsifying properly.
Step 3: Season and Adjust:
Add the salt and pepper. Add a pinch of cayenne pepper if desired for a little heat. Remember, you can always add more seasoning later, but you can’t take it away. So, start with a small amount and adjust to your taste.
Step 4: Whisk it All Together:
Using a whisk, thoroughly combine all the ingredients until they are smooth and creamy. Make sure there are no lumps of mayonnaise or garlic. The aioli should have a thick and glossy texture.
Step 5: Taste and Adjust:
Taste and adjust the seasoning as needed. Add more garlic, lemon juice, salt, or pepper to your preference. This is your chance to customize the aioli to your exact liking. Don’t be afraid to experiment with different flavors and seasonings. Want a bit of heat? Add a few drops of your favorite hot sauce. Prefer a tangier flavor? Add a squeeze more lemon juice.
Step 6: Optional Additions:
Add a teaspoon of Dijon mustard for a little extra tang or stir in a tablespoon of finely chopped fresh parsley or chives for a pop of color and freshness. There is no right or wrong answer here. Feel free to get creative and experiment with different additions. Think finely chopped sun-dried tomatoes, roasted red peppers, or even a sprinkle of smoked paprika.
Step 7: Chill and Let the Flavors Meld:
Cover the bowl with plastic wrap and refrigerate the aioli for at least 30 minutes, or even better, for an hour or two. This allows the flavors to meld and deepen, resulting in a more complex and satisfying taste. This is the most important step in the entire process, so don’t skip it! It’s the key to unlocking the full potential of your garlic aioli recipe.
Creative Variations: Make It Your Own
The beauty of this garlic aioli recipe is its versatility. Once you’ve mastered the basic recipe, you can easily adapt it to create a variety of exciting flavor combinations. Here are a few ideas to get you started:
- Roasted Red Pepper Aioli: Add a roasted red pepper for a smoky, sweet flavor.
Simply roast a red bell pepper in the oven or over an open flame until the skin is blackened. Then, place the pepper in a bowl, cover it with plastic wrap, and let it steam for 10 minutes. This will make it easier to peel off the skin. Once the skin is peeled, remove the seeds and stem and add the roasted red pepper to the aioli along with the other ingredients.
- Spicy Aioli: Add a pinch of cayenne pepper or a few drops of your favorite hot sauce for a spicy kick. You can also use chili garlic sauce, which adds both heat and garlic flavor.
If you’re using hot sauce, start with a small amount and add more to taste. Remember, you can always add more, but you can’t take it away! If you’re using chili garlic sauce, be aware that it contains both garlic and chili, so you may need to adjust the amount of garlic you add to the aioli.
- Herb Aioli: Add finely chopped fresh herbs, such as parsley, chives, dill, or tarragon, for a fresh and aromatic flavor.
Choose herbs that complement the other flavors in the aioli. For example, parsley and chives pair well with lemon and garlic, while dill and tarragon are a great addition to aioli served with seafood.
- Sun-Dried Tomato Aioli: Add finely chopped sun-dried tomatoes for a rich and savory flavor. Use sun-dried tomatoes packed in oil for the best flavor and texture.
Drain the sun-dried tomatoes well before chopping them and adding them to the aioli. You can also add a teaspoon of the oil from the sun-dried tomatoes for extra flavor.
- Lemon-Herb Aioli: Combine the zest of one lemon with your choice of fresh herbs for a bright and fragrant variation.
Be sure to use only the zest of the lemon, as the white pith can be bitter. You can use a microplane or a zester to remove the zest from the lemon. Combine the lemon zest with finely chopped fresh herbs, such as parsley, chives, dill, or tarragon, and add them to the aioli along with the other ingredients.
Perfect Pairings: What to Serve With Garlic Aioli Recipe
The possibilities are endless! Here are just a few ideas to get you started:
- Vegetables: Serve garlic aioli as a dipping sauce for raw or cooked vegetables, such as carrots, celery, bell peppers, broccoli, and asparagus.
For a party platter, arrange the vegetables attractively on a plate and place a bowl of garlic aioli in the center. You can also serve the aioli with grilled or roasted vegetables for a more substantial dish.
- Fries: Elevate your French fries with a generous dollop of garlic aioli. It’s a classic pairing that never gets old.
For an extra special treat, try serving your fries with a combination of garlic aioli and ketchup or mustard. The combination of flavors is irresistible.
- Sandwiches and Burgers: Spread garlic aioli on sandwiches and burgers for a creamy and flavorful boost.
Garlic aioli pairs well with a variety of sandwich fillings, such as turkey, ham, roast beef, and grilled vegetables. It’s also a great addition to burgers, adding a creamy and garlicky flavor that complements the meat perfectly.
- Seafood: Serve garlic aioli with grilled or pan-seared seafood, such as shrimp, scallops, salmon, and cod.
The creamy aioli complements the delicate flavor of the seafood, creating a delicious and satisfying meal. You can also use garlic aioli as a dipping sauce for fried seafood, such as calamari and fish sticks.
- Grilled Meats: Serve garlic aioli with grilled chicken, steak, or lamb for added flavor and richness.
The garlic aioli adds a creamy and garlicky flavor that complements the smoky flavor of the grilled meat. You can also use garlic aioli as a marinade for grilled meats, adding flavor and moisture.
Don’t be afraid to think outside the box! Try serving this Creamy Tomato Soup or Homemade Pizza with a side of garlic aioli for dipping. You can even add a dollop to your scrambled eggs or use it as a salad dressing. The possibilities are endless!
Storage Secrets: Keep It Fresh and Delicious
To ensure your garlic aioli stays fresh and delicious, follow these storage tips:
- Airtight Container: Store leftover aioli in an airtight container in the refrigerator. This will prevent the aioli from drying out and absorbing odors from other foods in the refrigerator.
I recommend using a glass container with a tight-fitting lid, as plastic containers can sometimes absorb odors and flavors from food. You can also use a reusable silicone container, which is a great eco-friendly option.
- Refrigeration Time: Homemade garlic aioli will last for up to 3-4 days in the refrigerator. After that, the flavor may start to degrade, and the aioli may become watery.
Be sure to label the container with the date you made the aioli so you know how long it’s been in the refrigerator. If you’re not sure how long the aioli has been in the refrigerator, it’s best to err on the side of caution and discard it.
- Do Not Freeze: Freezing garlic aioli is not recommended, as it can change the texture and flavor of the aioli. The mayonnaise can separate and become grainy, and the garlic flavor can become overpowering.
If you have more aioli than you can use in 3-4 days, it’s best to share it with friends or family or find creative ways to use it up. You can add it to sandwiches, burgers, or salads, or serve it as a dipping sauce for vegetables or fries.
- Proper Handling: Always use clean utensils when serving aioli to prevent contamination. Avoid double-dipping, as this can introduce bacteria into the aioli.
If you’re serving aioli at a party or gathering, provide individual serving spoons or small bowls to prevent guests from double-dipping. You can also provide small ramekins for guests to portion out the aioli for dipping.
Health Benefits: Why This Garlic Aioli Recipe is Good for You
While garlic aioli is undeniably delicious, it also offers some potential health benefits:
- Garlic Power: Garlic is known for its antioxidant and anti-inflammatory properties. It may also help to boost the immune system and lower blood pressure.
The active compound in garlic is allicin, which is responsible for its pungent odor and its health benefits. Allicin is released when garlic is crushed or minced, so be sure to mince the garlic finely when making aioli to maximize its health benefits.
- Healthy Fats: Olive oil is a source of healthy monounsaturated fats, which can help to lower cholesterol and protect against heart disease.
Choose a high-quality extra virgin olive oil for the best flavor and health benefits. Extra virgin olive oil is rich in antioxidants and anti-inflammatory compounds, which can help to protect against chronic diseases.
- Vitamin C: Lemon juice is a good source of vitamin C, which is an antioxidant that helps to boost the immune system and protect against cell damage.
Freshly squeezed lemon juice is the best source of vitamin C, as bottled lemon juice can lose some of its nutrients during processing. Be sure to use freshly squeezed lemon juice when making aioli to maximize its health benefits.
- Mindful Consumption: Enjoying homemade aioli in moderation as part of a balanced diet is key. While the ingredients offer some health benefits, aioli is also high in fat and calories.
Be mindful of portion sizes and enjoy aioli as an occasional treat rather than an everyday staple. You can also make healthier substitutions, such as using light mayonnaise or adding more lemon juice and herbs to reduce the amount of mayonnaise needed.
Troubleshooting: Fix Common Mistakes
Even with the best intentions, things can sometimes go wrong in the kitchen. Here are some common problems you might encounter when making garlic aioli recipe, along with tips on how to fix them:
- Aioli is Too Thick: If your aioli is too thick, add a little bit of lemon juice or olive oil, a teaspoon at a time, until it reaches the desired consistency.
Be sure to whisk the aioli well after adding the lemon juice or olive oil to ensure that it is properly emulsified. You can also add a tablespoon of water if the aioli is still too thick.
- Aioli is Too Thin: If your aioli is too thin, add a little bit more mayonnaise, a tablespoon at a time, until it reaches the desired consistency.
Be sure to whisk the aioli well after adding the mayonnaise to ensure that it is properly emulsified. You can also refrigerate the aioli for 30 minutes to allow it to thicken up.
- Aioli is Too Garlicky: If your aioli is too garlicky, add a little bit more lemon juice or mayonnaise to balance out the flavor.
You can also add a pinch of sugar or a tablespoon of honey to sweeten the aioli and reduce the intensity of the garlic flavor. If you’re using roasted garlic, be sure to use less than you would with raw garlic, as roasted garlic has a more intense flavor.
- Aioli is Not Garlicky Enough: If your aioli is not garlicky enough, add more minced garlic, a clove at a time, until it reaches the desired flavor.
Be sure to mince the garlic finely to release its full flavor. You can also use garlic paste instead of minced garlic for a more intense garlic flavor. If you’re using roasted garlic, be sure to use more than you would with raw garlic, as roasted garlic has a more mellow flavor.
- Aioli is Separating: If your aioli is separating, it means that the emulsion has broken down. This can happen if the ingredients are not at the same temperature or if you add the oil too quickly. To fix this, try whisking the aioli vigorously for several minutes to re-emulsify it. If that doesn’t work, start with a fresh egg yolk and slowly whisk in the broken aioli, a tablespoon at a time, until it emulsifies.
To prevent aioli from separating, make sure all of your ingredients are at room temperature before you start. Add the oil slowly and gradually, whisking constantly, to ensure that it emulsifies properly. You can also add a teaspoon of Dijon mustard to the aioli, as it helps to stabilize the emulsion.
Expert Answers: Your Burning Questions
Here are some frequently asked questions about garlic aioli recipe:
- Can I make aioli without a whisk? While a whisk is the ideal tool for making aioli, you can also use a fork or a blender. If using a fork, be sure to whisk the aioli vigorously to ensure that it is properly emulsified. If using a blender, be careful not to over-blend the aioli, as this can cause it to separate.
- Can I use dried garlic instead of fresh garlic? Fresh garlic is always the best choice for aioli, as it has a more intense and complex flavor. However, if you don’t have fresh garlic on hand, you can use dried garlic powder. Use about 1/2 teaspoon of garlic powder for every clove of fresh garlic.
- Can I make aioli ahead of time? Yes, you can make aioli ahead of time. In fact, it’s best to make aioli at least 30 minutes before you plan to serve it, as this allows the flavors to meld and deepen. Aioli will keep in the refrigerator for up to 3-4 days.
- Is aioli the same as mayonnaise? No, aioli is not the same as mayonnaise. Mayonnaise is an emulsion of egg yolks, oil, and lemon juice or vinegar. Aioli is a garlic-flavored mayonnaise.
- Can I use different types of oil for aioli? Yes, you can use different types of oil for aioli. Olive oil is the most traditional choice, but you can also use other types of oil, such as avocado oil, grapeseed oil, or safflower oil. Choose an oil with a mild flavor that won’t overpower the other ingredients.
More Amazing Recipes You’ll Love
If you enjoyed this garlic aioli recipe, here are a few other recipes from RecipesWithClara you might enjoy. From appetizers to full meals, our collection is sure to delight your taste buds.
Check out these equally delicious recipes:
- Homemade Hummus: A classic Mediterranean dip that’s perfect with pita bread or vegetables.
- Guacamole Recipe: Creamy and flavorful, this guacamole recipe is a crowd-pleaser.
- Easy Chicken Salad: A versatile salad that’s great for sandwiches or salads.
- Macaroni Salad: A classic picnic side that’s always a hit.
- Coleslaw Recipe: A refreshing and creamy coleslaw that pairs perfectly with barbecue.
I hope you enjoyed this culinary adventure with RecipesWithClara! Don’t forget to subscribe to our newsletter for more delicious recipes and cooking tips. Share this garlic aioli recipe with your friends and family, and let’s spread the joy of cooking together! Follow us on social media for daily inspiration and cooking demos. We can’t wait to see what you create! Happy cooking!